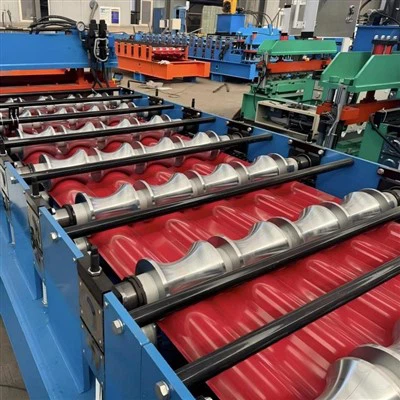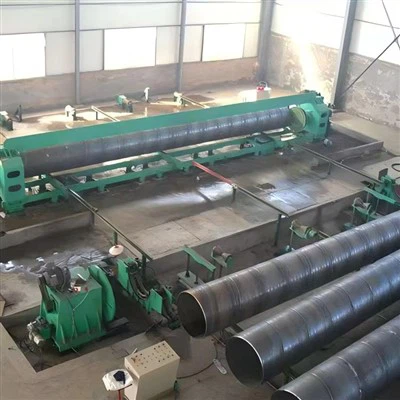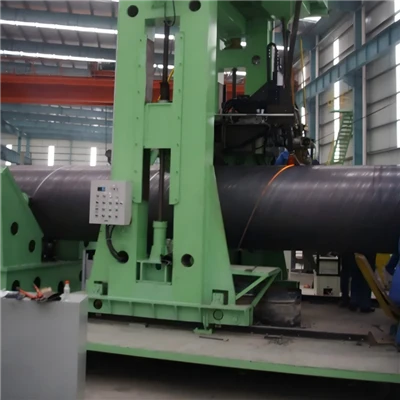
Hydrostatic testing (hydro test) is a mandatory pressure-verification procedure for newly-installed, repaired or modified industrial pipelines before commissioning. The test fills the closed pipeline section with liquid, mostly clean water, and raises internal pressure above the normal design pressure to detect welding defects, joint leakage, material weakness and structural failure risks. Compared with pneumatic testing using compressed gas, hydro testing is much safer because water is nearly incompressible. Even if pipe rupture occurs, the stored-energy release is limited and will not cause violent explosions. Improper hydro test execution may lead to pipe cracking, flange blow-out, personal injury or invalid test results.

Pre-test Preparation
Complete preparation is the foundation of successful hydro testing. No pressurization shall start before all pre-check items are finished and documented.
First of all, technical documents and boundary confirmation shall be completed. Engineers shall review pipeline isometric drawings, design pressure, material certificates and applicable industry codes to calculate the minimum required test pressure. For pipelines operating at high design temperature, a stress-ratio correction factor shall be applied to compensate material strength reduction under high-temperature service conditions, and the final test pressure must never exceed the yield strength of the weakest component in the tested section. Test boundaries must be clearly defined to separate the target pipeline from other connected equipment.
Secondly, physical isolation of the test section must be implemented. Valves, instruments, expansion joints and safety relief valves that cannot withstand test pressure shall be removed or isolated with heavy-duty temporary spectacle blinds or blind flanges. Ordinary gaskets or thin plates cannot serve as isolating barriers, because high internal pressure may push them out and cause severe accidents. All open ends of the test segment are sealed with test caps or welded closures. Temporary pipe supports and thrust-resisting concrete blocks shall be reinforced, especially for large-diameter elbows and tees, to resist huge axial thrust generated under test pressure.
Thirdly, test equipment selection and calibration work are required. At least two independently calibrated pressure gauges shall be installed on the pipeline, one near the test pump and the other at the highest point of the test section. Gauge range shall be 1.5-2 times the expected test pressure, and calibration certificates must be valid within the required period. A pressure relief safety valve shall be set to prevent accidental over-pressurization. A hydro test pump with stable flow output, filling water hoses, high-point air-vent valves and low-point drain outlets need to be properly connected. For stainless-steel pipelines, test water must be controlled with low chloride content, normally below 50 ppm, to avoid chloride-induced stress corrosion cracking after testing.
Finally, site safety preparation and documentation. A work-permit-to-test shall be issued. Exclusion zones are marked around the test pipeline. Operators shall understand emergency depressurization and drainage procedures. All weld visual inspection and non-destructive examinations (UT, RT, MT or PT) shall be finished and accepted before hydro test starts. No welding or repair work is allowed during pressurization.
Filling and Air Venting
Trapped air inside pipeline is one of the most frequent causes of inaccurate hydro-test results and safety hazards. Compressed air stores large amounts of energy. If pipe rupture occurs with air remaining inside, the accident risk rises sharply.
Water shall be injected from the lowest point of the pipeline section. All high-point vent valves must be fully opened during filling. The filling speed should be slow. Operators keep observing vent outlets until continuous water flow without air bubbles comes out of every high-position vent. Only then can technicians close the vent valves one by one.
After full filling, the system shall stay static for sufficient soaking time. This step allows water and pipe material to reach thermal equilibrium. Temperature difference between metal pipe wall and test water will otherwise create artificial pressure fluctuation and mislead pressure-drop judgement in later hold-pressure phase. For cement-lined large-size pipes, extended soaking time is required according to local engineering standards.
Gradual Pressurization and Holding-pressure Stage
Never raise pressure directly to full test pressure in one single step. All codes require staged pressure increase to avoid hydraulic shock and sudden over-stress on pipe joints and welds.
Generally, pressure is increased in multiple incremental steps. For example, raise pressure to 50 % of target test pressure first, stop the pump and hold for several minutes. Operators walk along the whole accessible pipeline to check for obvious leakage, abnormal deformation, water seepage at flanges or weld seams. If no abnormality is found, continue to increase pressure step-by-step until reaching the calculated full hydro-test pressure.
When the target test pressure is achieved, stop the test pump and start the hold-pressure timer. Under ASME B31.3 requirements, the system maintains full test pressure for at least 10 minutes. During this period, inspectors examine all joints, welds, flanges, threaded connections and temporary closures. Any sweating, dripping or jet-type leakage shall be recorded. Minor leakage cannot be repaired while the pipeline remains pressurized. The test must be stopped, depressurized completely before any maintenance work is carried out.
After finishing the hold-pressure period at maximum test pressure, reduce the pressure down to the pipeline's original design pressure. Maintain design pressure for extended visual inspection. Most leak detection work is completed under design pressure, because tiny leaks may become invisible under ultra-high test pressure.
Acceptance Criteria
A hydro test is regarded as qualified only when all acceptance conditions are satisfied. First, no visible leakage occurs across all inspected positions. Second, no permanent plastic deformation, bulging or displacement of pipe body and fittings can be observed. Third, pressure drop within the hold-pressure duration stays within the allowable range specified by corresponding standards. Minor pressure drop caused by temperature change or small-volume elastic deformation of metal material is acceptable, yet sharp continuous pressure drop indicates hidden leakage points.
If leakage or deformation defects are detected, the test fails. The whole system must be fully depressurized, drained and repaired. After repair completion, the full hydro-test procedure shall be repeated from the beginning. Partial re-pressurization is not permitted.
Depressurization, Draining and Post-test Work
Once the test passes acceptance, controlled depressurization is performed. Pressure shall drop slowly rather than released instantly. Rapid pressure relief may generate water hammer effect and damage pipeline components. After gauge pressure drops to zero, open all drain outlets at low points to discharge test water. Meanwhile open high-point vents to break vacuum inside the pipe.
For long-term-idle pipelines, water inside shall be fully drained to prevent internal corrosion or freezing damage in cold weather. Temporary blinds, test caps, pressure gauges and test-pump connections are removed. Reconnect original instruments, relief valves and process equipment which were isolated before testing. The pipeline is restored to normal configuration.
Finally, complete the hydro-test official report. The report includes test date, section description, design pressure, actual test pressure, holding-time records, pressure-drop data, inspection findings, witness signatures from contractor and client. This document becomes essential technical archive for pipeline commissioning and future maintenance.
Safety Risks and Common Pitfalls
Hydro test belongs to high-risk site operation. Personnel must never stand in front of blind flanges or end caps during pressurization, because accidental failure may eject high-pressure water jet.
Many failed hydro-tests result from human errors. Incomplete air venting causes unstable pressure reading and false pressure-drop alarms. Improper temporary blinds or insufficient thrust supports lead to flange separation. Some operators rush to full test pressure without staged rising, bringing huge impact stress to welds. Using out-of-calibration pressure gauges generates unreliable test data. For stainless-steel piping, high-chloride test water will leave hidden corrosion risk even though the hydro-test passes.
When field conditions make water filling impractical, for instance, the pipeline cannot bear heavy water weight or residual water will contaminate process medium, pneumatic pressure test can be adopted as an alternative. However, pneumatic testing carries far higher explosion risk and requires strict extra safety restrictions.
Pipeline hydrostatic test is a systematic multi-stage activity covering technical calculation, pre-test isolation, filling-venting, staged pressurization, visual inspection, acceptance judgment and post-test restoration. Every procedure must follow applicable industrial standards. Operators must pay special attention to air removal, slow-rate pressurization, valid measuring instruments and site safety control. A properly executed hydro test verifies mechanical integrity and joint tightness of pipelines, eliminates potential hidden dangers before putting pipelines into service, and protects equipment and personnel for long-term safe operation. Unqualified hydro-test execution will leave severe safety risks for the whole pipeline system.